
Honda Element Touch Up Paint (30 OEM Colors)
Search for your Element's color
-

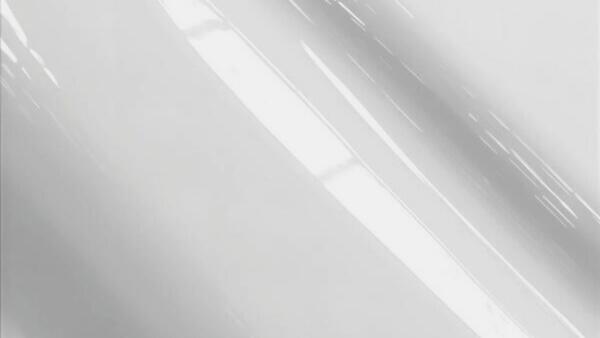
Crystal Black Pearl
HondaCrystal Black Pearl (NH-731P)
🔥 Ordered 42 times recently -
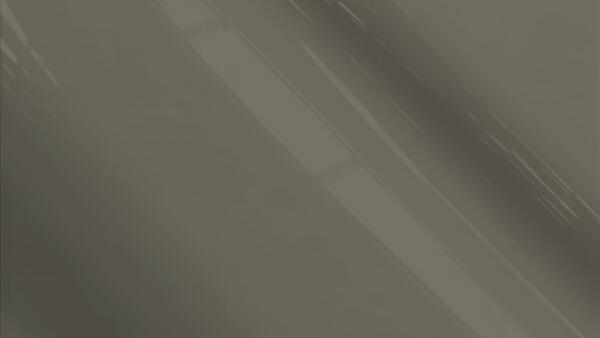
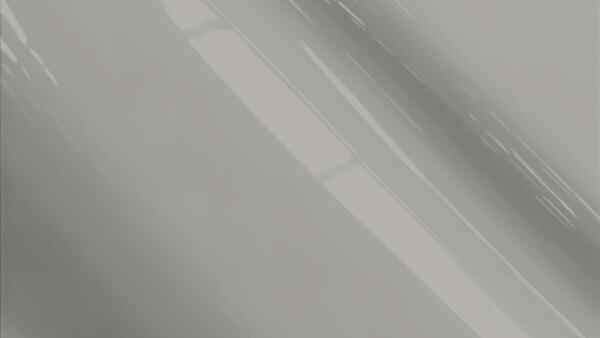
Polished Gray Metal Metallic
HondaPolished Gray Metal Metallic (NH-737M)
🔥 Ordered 24 times recently -
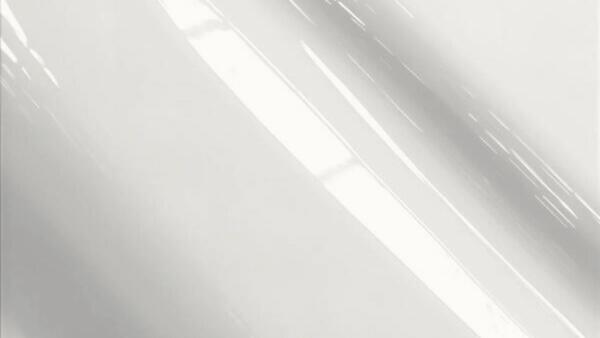
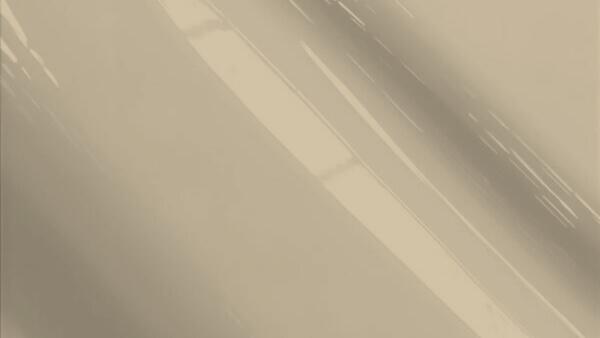
Alabaster Silver Metallic
HondaAlabaster Silver Metallic (NH-700M)
🔥 Ordered 21 times recently -
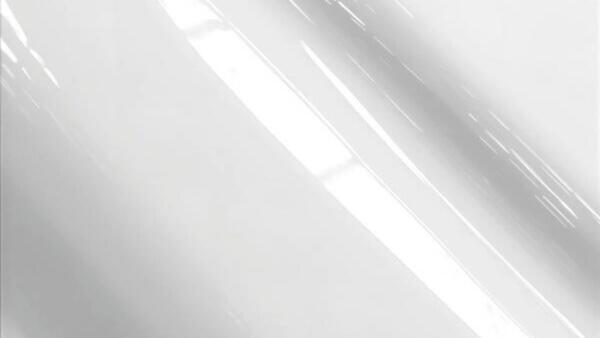
Taffeta White
HondaTaffeta White (NH-578)
🔥 Ordered 18 times recently -

Eternal Blue Pearl
HondaEternal Blue Pearl (B-96P)
🔥 Ordered 7 times recently -

Nighthawk Black Pearl
HondaNighthawk Black Pearl (B-92P)
🔥 Ordered 6 times recently -
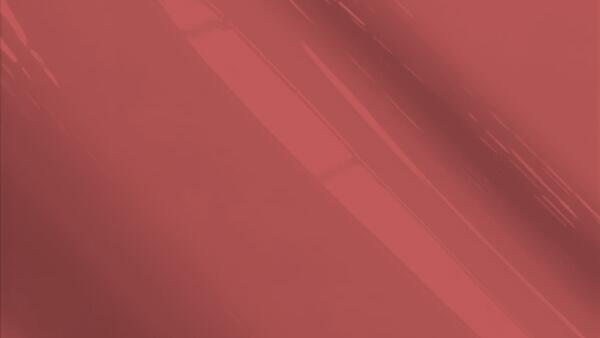
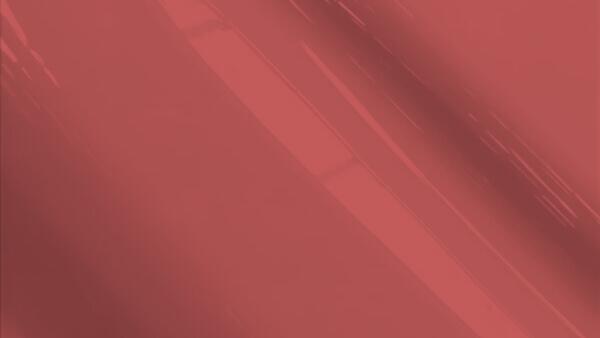
Rallye Red
HondaRallye Red (R-513)
🔥 Ordered 6 times recently -

Royal Blue Pearl
HondaRoyal Blue Pearl (B-536P)
🔥 Ordered 6 times recently -
Satin Silver Metallic
HondaSatin Silver Metallic (NH-623M)
🔥 Ordered 6 times recently -

Sage Brush Pearl
HondaSage Brush Pearl (NH-662P)
🔥 Ordered 5 times recently -
Galaxy Gray Metallic
HondaGalaxy Gray Metallic (NH-701M)
🔥 Ordered 4 times recently -
Magnesium Metallic
HondaMagnesium Metallic (NH-675M)
🔥 Ordered 4 times recently -
Tango Red Pearl Metallic
HondaTango Red Pearl Metallic (R-525P)
🔥 Ordered 3 times recently -

Fiji Blue Pearl
HondaFiji Blue Pearl (B-529P)
🔥 Ordered 2 times recently -

Omni Blue Pearl
HondaOmni Blue Pearl (B-562P)
🔥 Ordered 2 times recently -

Proton Blue Metallic
HondaProton Blue Metallic (B-537M)
🔥 Ordered 2 times recently
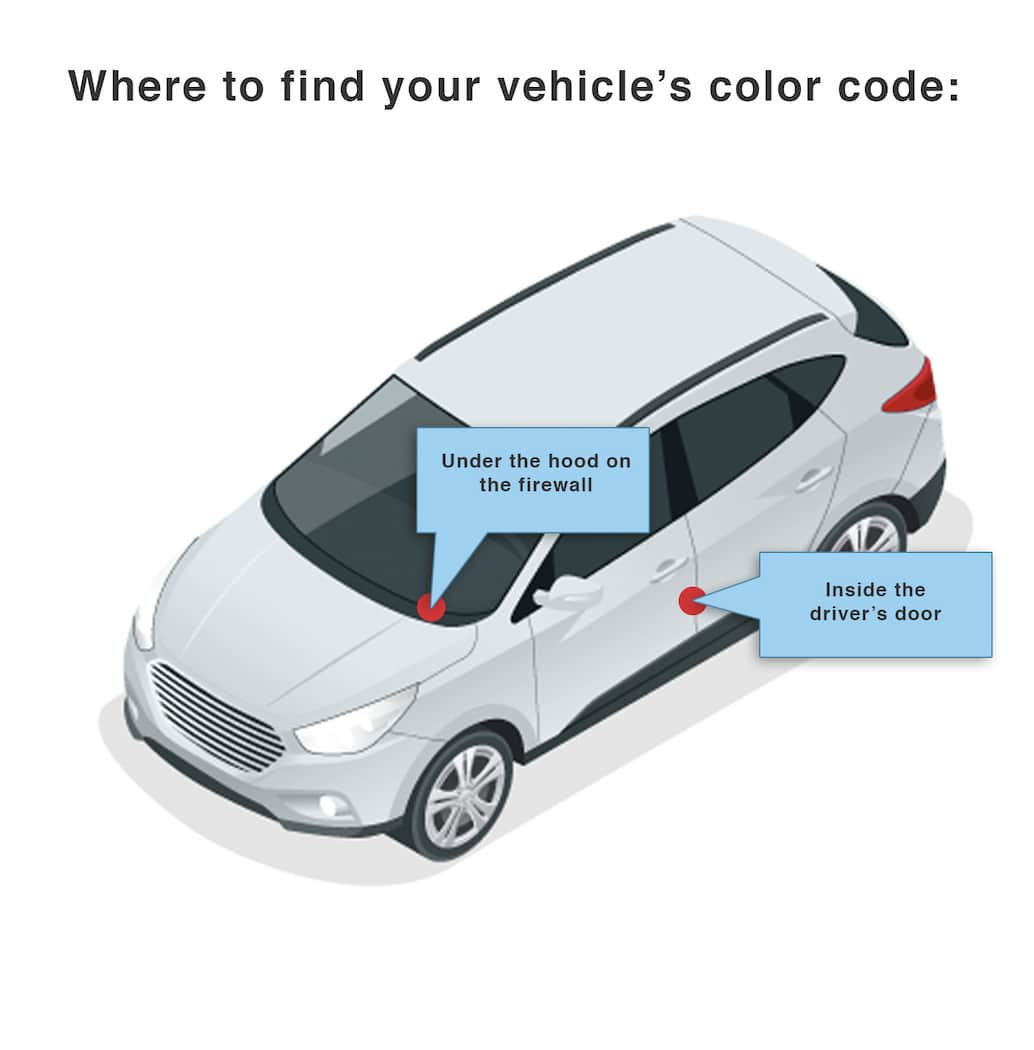
How to Find Your Honda Element's Color Code
Honda paint codes are usually on the driver-side door jamb label, on a color ID tag that often lists the paint and factory codes. The factory code appears in the lower right corner and is the eleventh digit of the VIN. Paint codes look like NH-583M and may include letters, numbers, and dashes. Example: factory code B pairs with NH583M, corresponding to Vogue Silver Metallic Clearcoat used on some Civics, Delsols, and Preludes between 1996 and 2000.