Honda Wagon Paint Info
The Color Breakdown
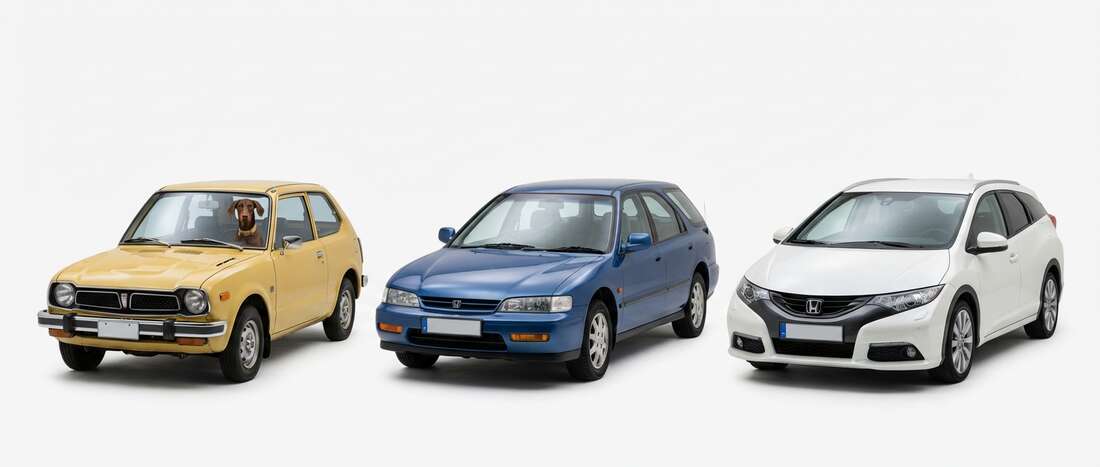
Back when the Honda Wagon was ruling the carpool lane, Honda didn't need a rainbow to make a statement-they only needed 4 colors. They really went for that "sophisticated weekend explorer" vibe with a palette that includes Richmond Green Metallic and the wonderfully retro Sydney Brown Metallic. It's a small list, but it's a classic one. Whether you're rocking the St. Moritz Silver Metallic or the crisp Shetland White, these colors were designed to look just as good at a campsite as they do in a driveway.
What to Watch For
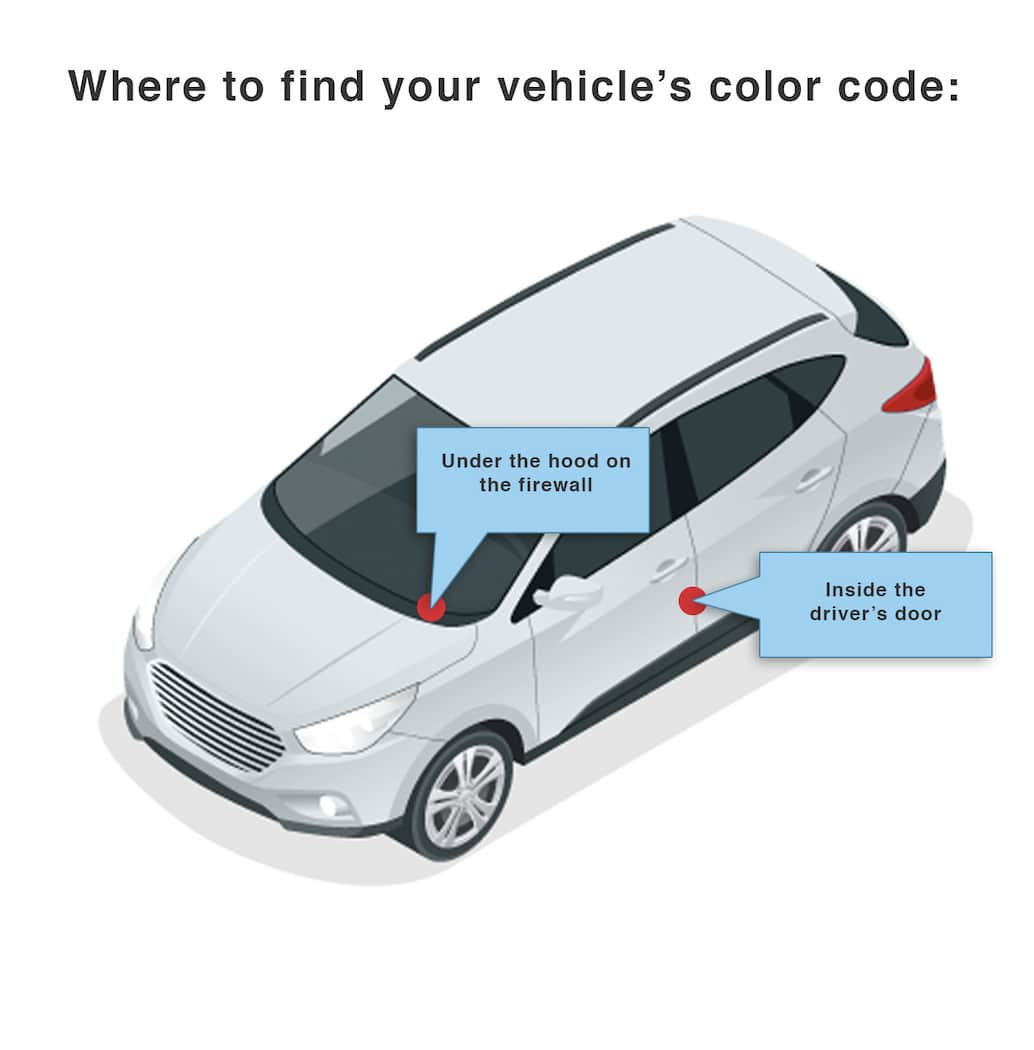
Before you start dabbing, you need to find your "North Star"-the paint code. On most Honda Wagons, you'll find this on a sticker located inside the driver's side door jamb. If it's not there, pop the hood and check the firewall (the metal wall at the back of the engine bay); sometimes it likes to hide near the strut towers.
Now, a quick heads-up: Honda paint from this era is known for being a bit "soft." This means the clear coat can get a little shy and start to flake or turn chalky on the roof and hood if it's spent too much time in the sun. If you see those white, cloudy patches, don't panic-it just means your Wagon has lived a full life. Your touch-up work will help seal those spots and keep the metal happy.
Driveway Repair Tip
Since most of these colors (like that Richmond Green) are metallics, they have tiny sparkles inside that like to settle at the bottom of the bottle. Shake your touch-up pen or bottle for a full two minutes-longer than you think you need to-to wake up those flakes. When you apply it, remember that less is more. Use the tip of the brush to fill just the center of the chip and let it flow out. If you try to do one thick "blob" to finish the job quickly, it won't dry flat. Stick to thin layers and give it about 20 minutes between dabs; getting that factory-level depth requires patience, but your Wagon is worth the wait!