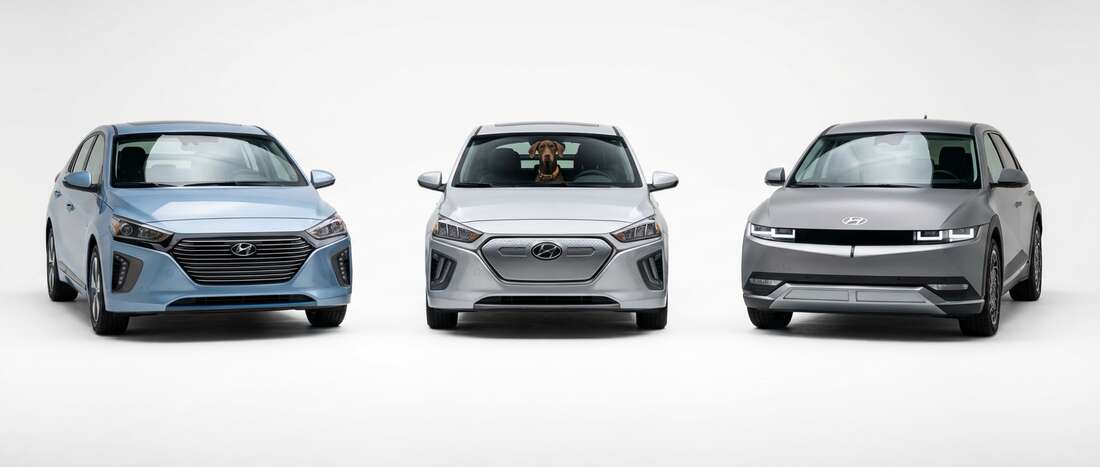
Hyundai Ioniq Touch Up Paint (29 OEM Colors)
Search for your Ioniq's color
-
Silver (Trim)
HyundaiSilver (Trim) (YEV)
🔥 Ordered 22 times recently -
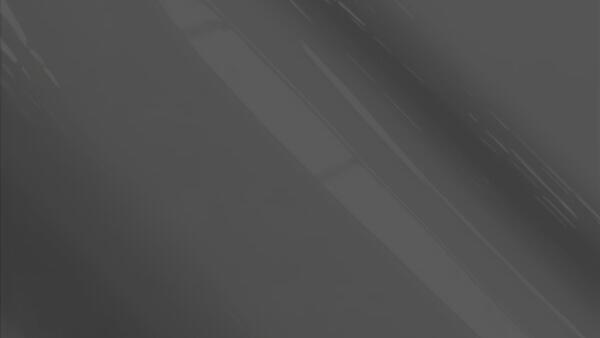
Gray
HyundaiGray (YGN)
🔥 Ordered 13 times recently -

Intense Blue
HyundaiIntense Blue (YP5)
🔥 Ordered 11 times recently -

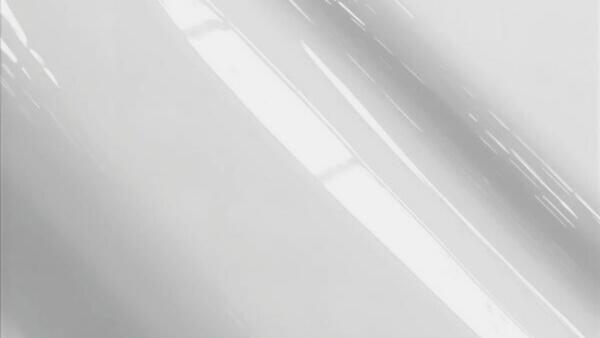
Atlas White
HyundaiAtlas White (SAW)
🔥 Ordered 8 times recently -
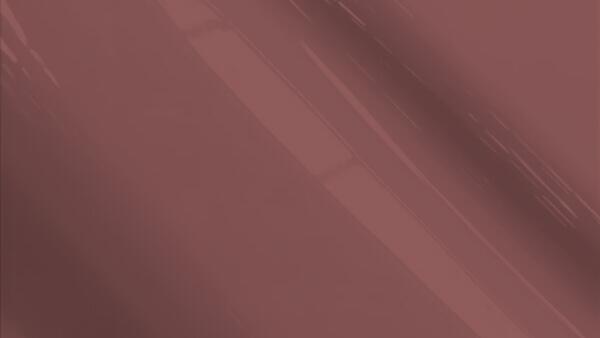
Scarlet Red Pearl
HyundaiScarlet Red Pearl (PR2/PR3)
🔥 Ordered 7 times recently -
Stellar Silver Metallic
HyundaiStellar Silver Metallic (T2X)
🔥 Ordered 7 times recently -
Black Noir Pearl
HyundaiBlack Noir Pearl (NKA)
🔥 Ordered 3 times recently -
Ceramic White
HyundaiCeramic White (WAW)
🔥 Ordered 3 times recently -
Cyber Grey
HyundaiCyber Grey (C5G)
🔥 Ordered 3 times recently -
Amazon Gray Pearl
HyundaiAmazon Gray Pearl (A5G)
🔥 Ordered 2 times recently -

Black Noir Pearl
HyundaiBlack Noir Pearl (NKA/MJB/MZH/TB7)
🔥 Ordered 2 times recently -

Med Aqua
HyundaiMed Aqua (M9U)
🔥 Ordered 2 times recently -
Electric Shadow
HyundaiElectric Shadow (USS)
🔥 Ordered 1 times recently -
Gravity Gold
HyundaiGravity Gold (W3T)
🔥 Ordered 1 times recently -

Scarlet Red Pearl
HyundaiScarlet Red Pearl (PR2)
🔥 Ordered 1 times recently -
Atlas White
HyundaiAtlas White (SAW/SW1)
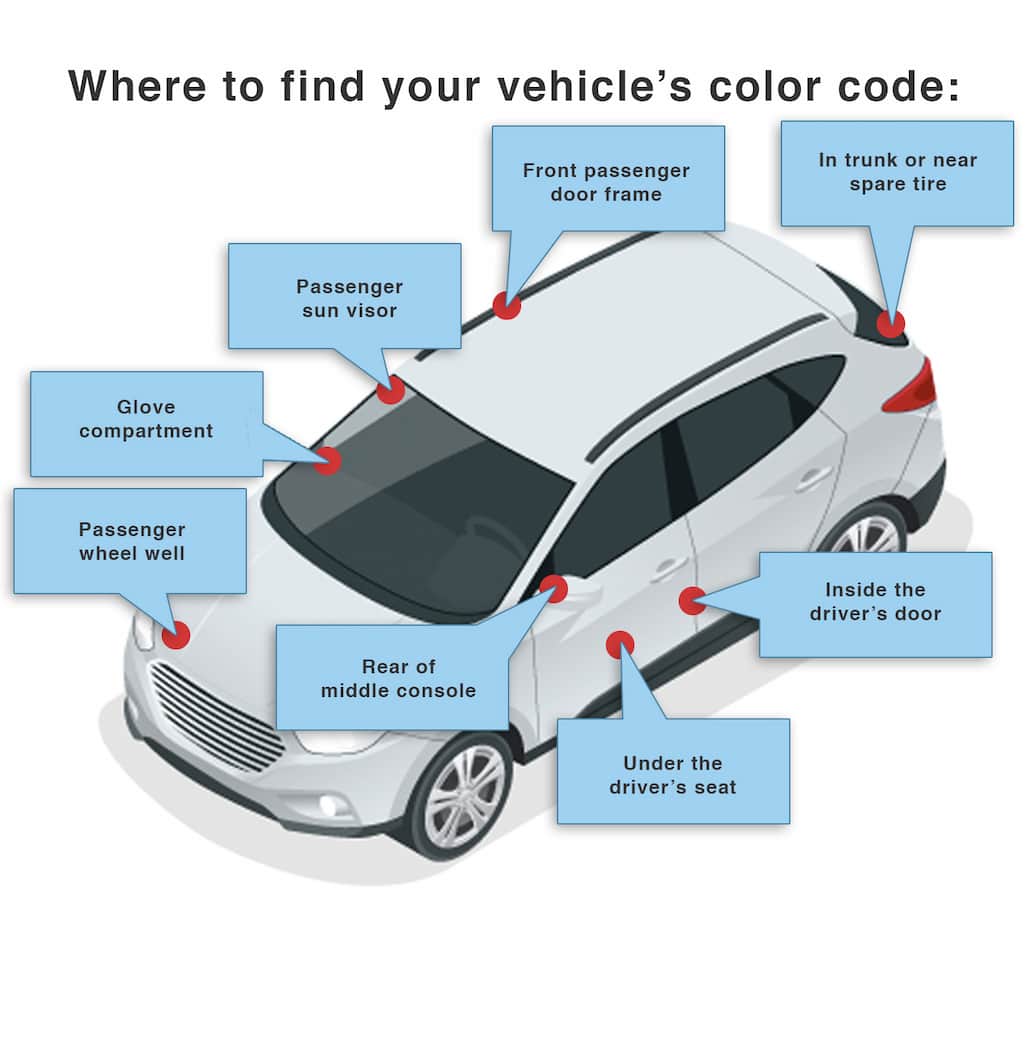
How to Find Your Hyundai Ioniq's Color Code
Hyundai paint codes are normally on the drivers door jamb; some models hide the color code in the engine compartment. Typical format: 3E which corresponds to: Blue Onyx Metallic Clearcoat. Some later Hyundais use a three character code. A paint can be S3; this is actually the same as S3B. Same color code, different name: the same paint may be used across models, e.g., 3E as Blue Onyx Metallic Clearcoat, Blue Clearcoat, or Ocean Blue Clearcoat.