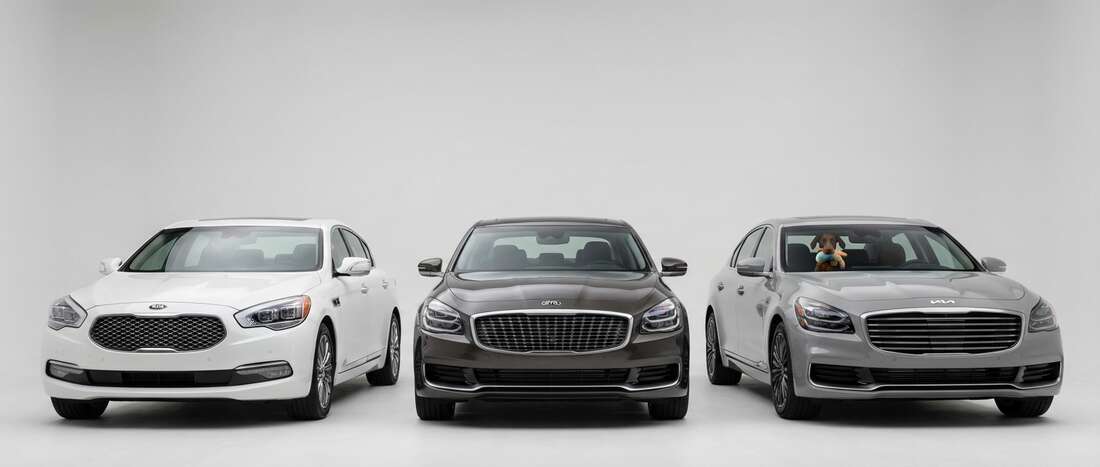
Kia K900 Touch Up Paint (13 OEM Colors)
Search for your K900's color
-
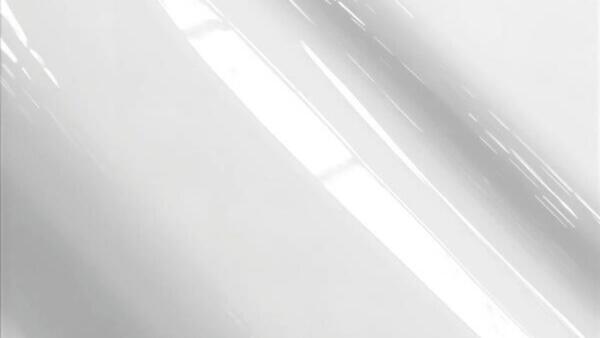
Snow White Tricoat
KiaSnow White Tricoat (SWP/SWA)
🔥 Ordered 8 times recently -

Panthera Metal Metallic
KiaPanthera Metal Metallic (P2M)
🔥 Ordered 5 times recently -

Aurora Black Pearl
KiaAurora Black Pearl (ABP)
🔥 Ordered 4 times recently -

Bright Silver Metallic
KiaBright Silver Metallic (3D/A3D)
🔥 Ordered 4 times recently -

Silky Silver Metallic
KiaSilky Silver Metallic (4SS)
🔥 Ordered 3 times recently -
Ceramic Silver Metallic
KiaCeramic Silver Metallic (C4S)
🔥 Ordered 1 times recently -

Formal Deep Blue Pearl
KiaFormal Deep Blue Pearl (BLA)
🔥 Ordered 1 times recently -
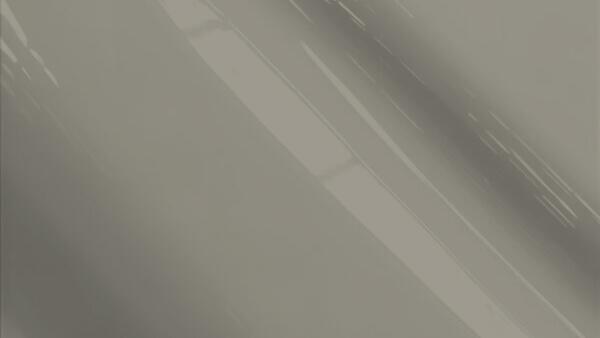
Mineral Silver Metallic
KiaMineral Silver Metallic (E6S)
🔥 Ordered 1 times recently -

Celestial Blue Pearl
KiaCelestial Blue Pearl (D9B)
-
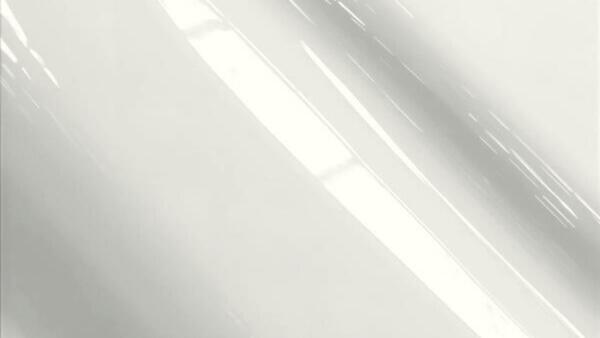
Snow White Tricoat
KiaSnow White Tricoat (SWP)
-
Titanium Brown Pearl
KiaTitanium Brown Pearl (MBN)
-
Lakestone Pearl
KiaLakestone Pearl (L5S)
-
Marsala Pearl
KiaMarsala Pearl (MSL)
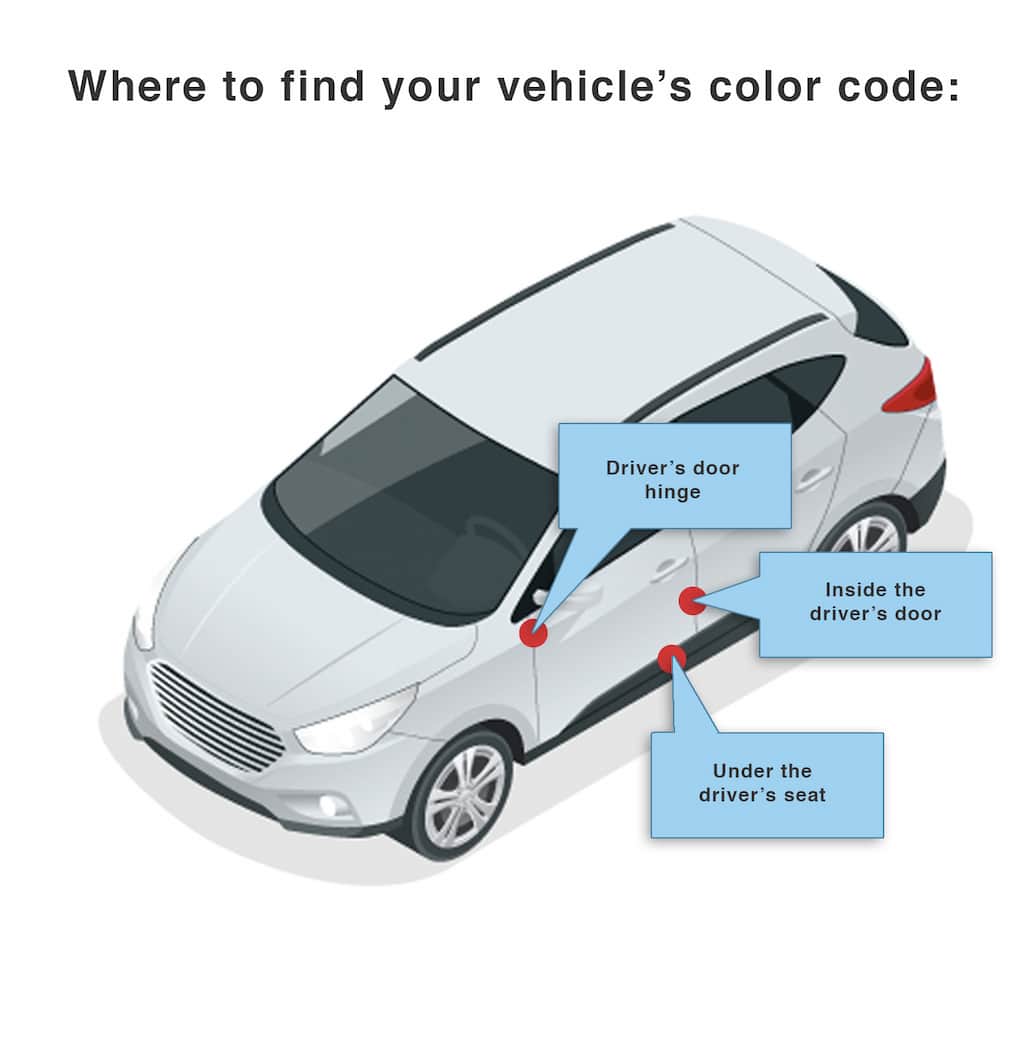
How to Find Your Kia K900's Color Code
Kia codes are easy to find as they are always on the drivers door jamb. Typical format: B3. Example mapping: B3 Mica Blue Metallic Clearcoat. Same Color Code, Different Name: Kia, like all manufacturers, uses the exact same color across many models and then will have a different color name for each model. This is why the color code is so important to order the correct paint. For example, B3, above we call Mica Blue Metallic Clearcoat. It could also be called Blue Clearcoat, Light Mist Clearcoat, etc.