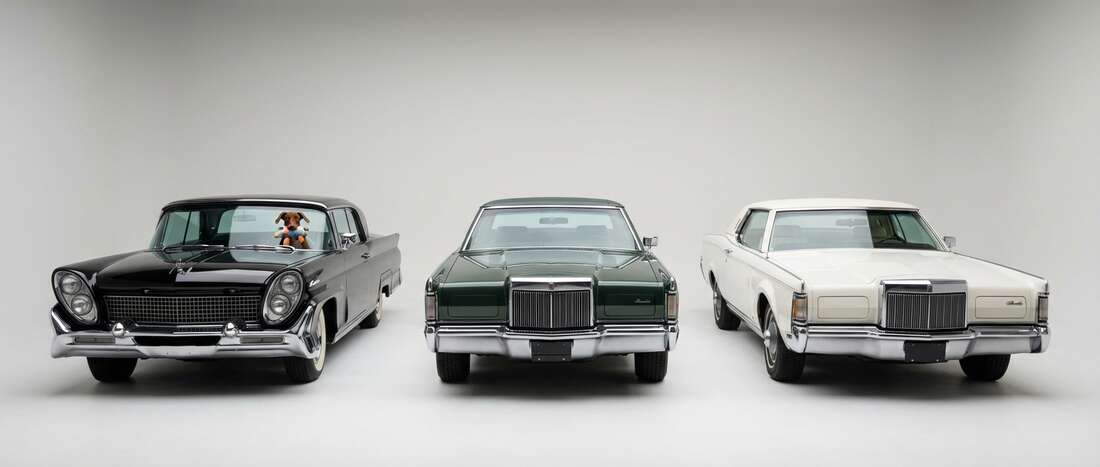
Lincoln M III Touch Up Paint (174 OEM Colors)
Search for your M III's color
-

Light Yellow Gold
LincolnLight Yellow Gold (6B (1972))
🔥 Ordered 2 times recently -
Copper Moondust Poly
LincolnCopper Moondust Poly (5G (1972))
🔥 Ordered 1 times recently -
Ginger Moondust Poly
LincolnGinger Moondust Poly (5C (1972))
🔥 Ordered 1 times recently -
Ginger Moondust Poly
LincolnGinger Moondust Poly (5K (1973))
🔥 Ordered 1 times recently -

Ivory Bronze Moondust Poly
LincolnIvory Bronze Moondust Poly (E9 (1971))
🔥 Ordered 1 times recently -

Light Ivy Moondust Poly
LincolnLight Ivy Moondust Poly (4G (1972))
🔥 Ordered 1 times recently -
Pastel Blue
LincolnPastel Blue (3A (1973))
🔥 Ordered 1 times recently -

Silver Moondust Poly
LincolnSilver Moondust Poly (1D (1974))
🔥 Ordered 1 times recently -

White
LincolnWhite (9-D (1975))
🔥 Ordered 1 times recently -

White
LincolnWhite (M (1969))
🔥 Ordered 1 times recently -

Aqua Blue Diamond Fire Poly
LincolnAqua Blue Diamond Fire Poly (45 (1975))
-

Black
LincolnBlack (1-C (1975))
-

Black
LincolnBlack (1C (1974))
-

Black
LincolnBlack (A (1969))
-
Black
LincolnBlack (A (1970))
-
Black
LincolnBlack (A (1971))
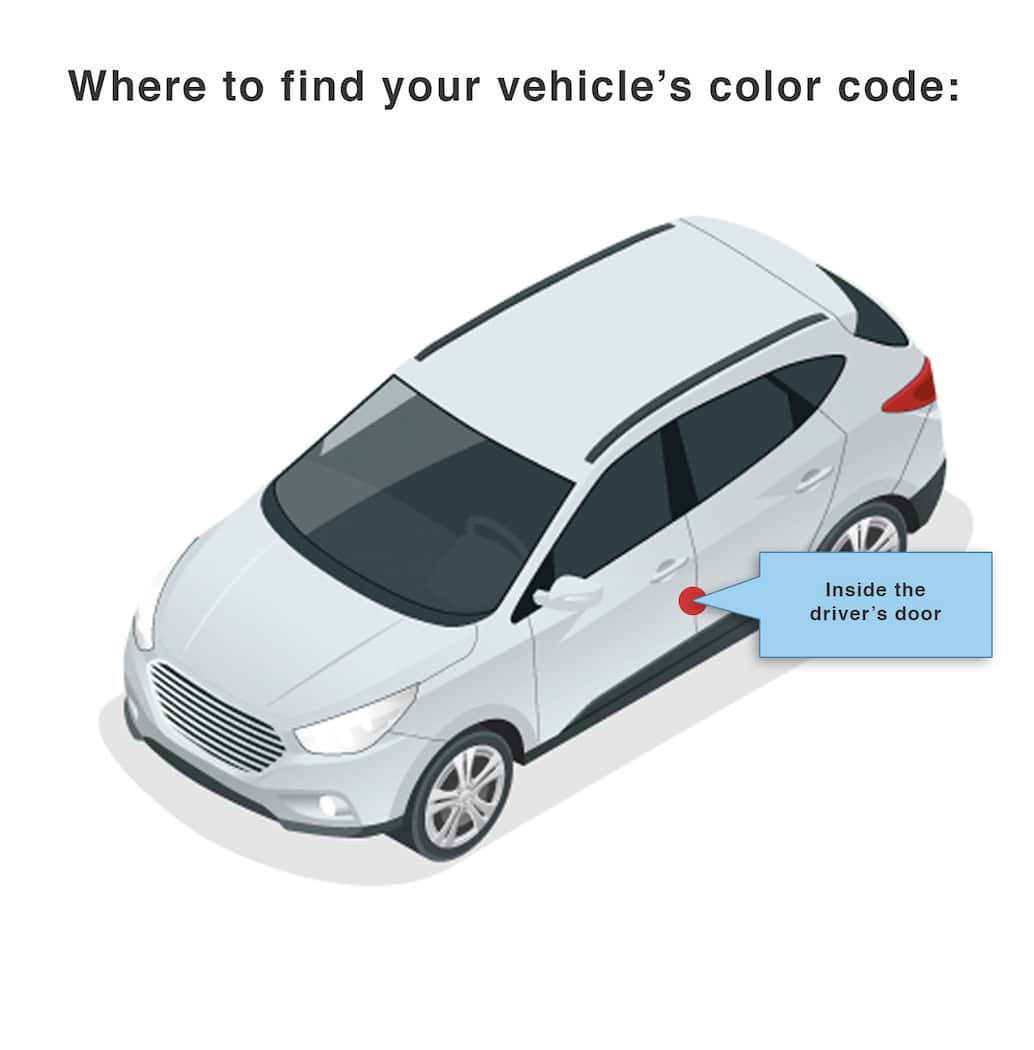
How to Find Your Lincoln M III's Color Code
Lincoln color codes are always on the drivers door jamb. On the color plate, EX PT (for Exterior Paint) appears, with the paint code located above or below; sometimes the actual color is embossed on the plate and not where expected. Typical format: WT/M6640, though M6640 is rarely shown and typically only WT appears. WT corresponds to Performance White Clearcoat. Pre 1970 Lincolns can be problematic due to same names with different codes.